At K B Plumbing, we take pride in providing exceptional shower installation and repair services tailored to meet the unique needs of our clients. Whether you're looking to upgrade your bathroom with a stylish new shower or need prompt repairs for a leaky or malfunctioning fixture, our skilled team is here to help. With years of experience in the plumbing industry, we ensure that every installation is performed with precision and care, using high-quality materials for lasting results. Our commitment to customer satisfaction means we work closely with you to ensure your vision is realized, making your shower a relaxing and functional space in your home. Trust K B Plumbing to deliver reliable service and expertise for all your shower needs!
Essential Tools for Shower Repair
When it comes to shower repair, having the right tools can make all the difference. Basic plumbing tools like a pipe wrench, adjustable pliers, and a set of screwdrivers are essential for tackling common issues. Additionally, a utility knife and a putty knife can help with removing old caulking and preparing surfaces for new materials. A basin wrench is particularly useful for accessing hard-to-reach fittings, ensuring you can work efficiently during repairs.
For those who prefer a more thorough approach, consider investing in specialized tools such as a shower valve socket wrench. This tool simplifies the process of replacing or repairing shower valves. A multimeter can also be beneficial when diagnosing issues related to electric showers or other electrical components. With these tools at hand, you’ll be well-equipped to address most shower repairs effectively.
MustHave Equipment for DIY Fixes
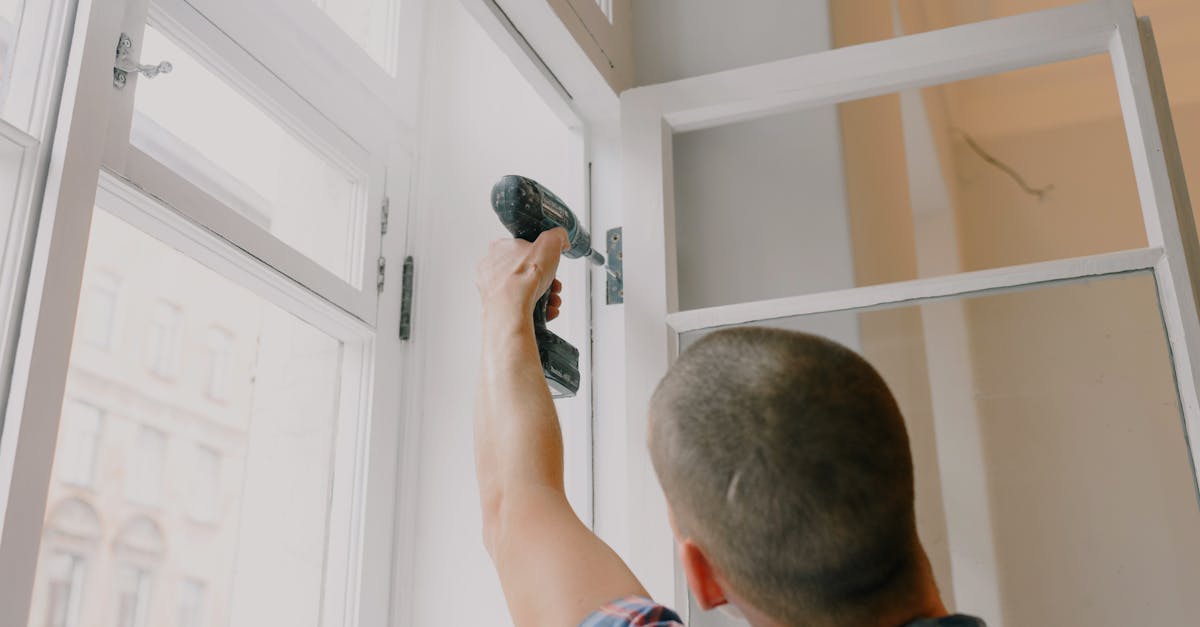
When tackling a DIY shower repair project, having the right tools makes a significant difference. A stud finder is essential for locating wall studs before installing fixtures. A quality drill and a set of drill bits are also necessary for creating holes to mount hardware. Adjustable wrenches and pliers help to tighten or loosen plumbing connections effectively. Additionally, a caulking gun is crucial for sealing gaps and preventing leaks in shower surrounds.
It's important to invest in safety gear to protect yourself during the repair process. Gloves safeguard hands from sharp edges and harsh cleaning chemicals. Safety goggles shield eyes from debris and splashes. Having a good-quality measuring tape ensures accurate cuts or placements, which is vital for a professional-looking result. Finally, a bucket can be handy for catching any water that may spill during the repair.
The Shower Installation Process
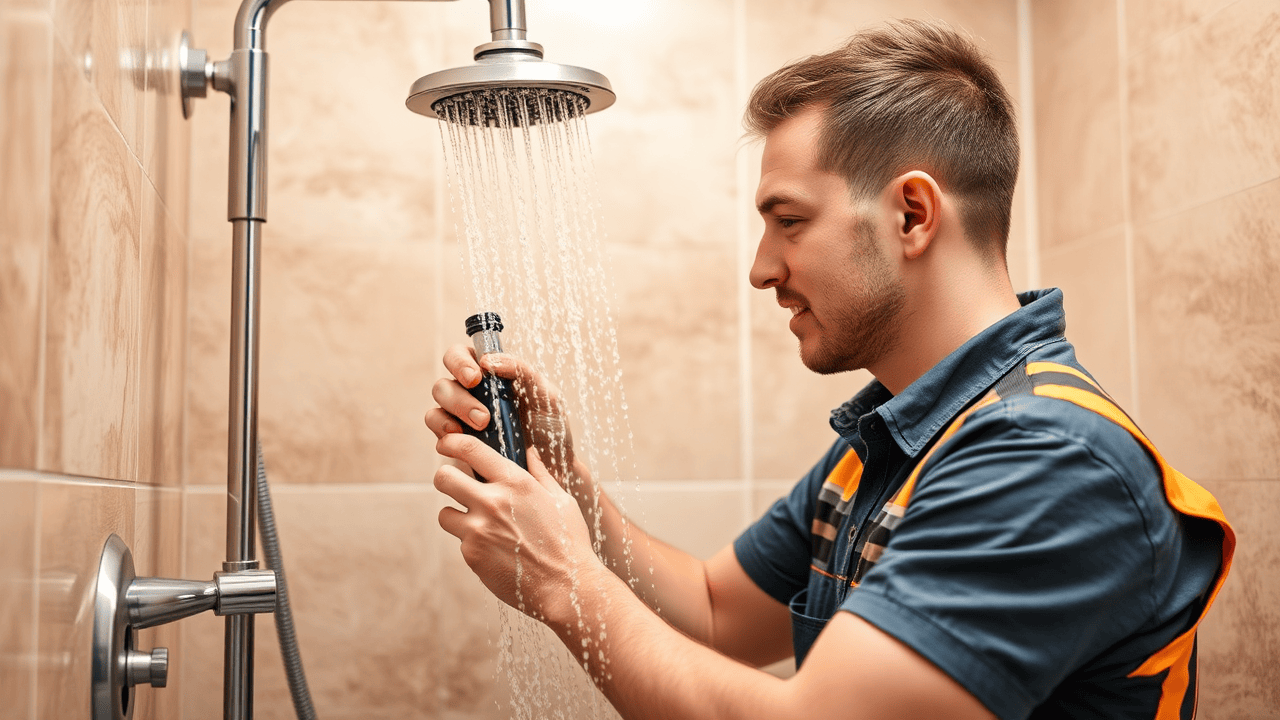
Successful shower installation begins with careful planning and preparation. First, gather all necessary materials, including the shower unit, piping, and any required fittings. It's crucial to ensure that the plumbing system can support the new installation. Before starting, shut off the water supply and remove any old fixtures. Assess the area for any repairs needed in the surrounding walls or flooring. Having a clean slate will make the installation smoother.
Next, follow the manufacturer's instructions for correctly positioning and securing the shower unit. Check the alignment of the drain and make necessary adjustments before sealing everything in place. Once the shower is installed, reconnect the plumbing and turn the water supply back on. Test all functions to confirm the installation's integrity. Be sure to check for any leaks and address them promptly to avoid future complications.
StepbyStep Guide to a Successful Install
Preparing the area for installation is crucial. Begin by turning off the water supply to avoid any spills. Remove the old shower fixtures if applicable, ensuring that all connections are carefully disconnected. Clean the surface where the new shower will be installed, as debris can interfere with a proper seal. If you are dealing with tiles or walls, check for any signs of damage or mold that might need to be addressed before proceeding.
Once the area is prepped, measure and mark where the new shower will go. Using a level ensures that everything is aligned properly. Install the showerhead and valve according to the manufacturer’s instructions. Secure all fittings tightly to prevent leaks. After everything is in place, turn the water supply back on and check for any leaks. This step is vital in making sure the installation is successful and that your shower will function correctly.
Maintaining Your Shower
Regular maintenance is essential for keeping your shower in top condition. Start by checking for signs of mold and mildew. Make it a habit to clean the showerhead and tiles with a suitable cleaner every week to prevent buildup. Inspect the caulking and grout regularly, repairing any cracks or gaps to maintain a watertight seal. This proactive approach not only enhances the appearance of your shower but also extends its lifespan.
Proper drainage is another critical aspect of maintenance. Ensure that the drain is clear of hair and debris, as blockages can lead to water pooling and potential damage. Using a drain cover can help minimize hair loss in the first place. Additionally, consider running hot water through the drain occasionally to help dissolve any soap scum or buildup. A little effort in these areas can significantly enhance the overall functionality and hygiene of your shower.
Best Practices for Longevity and Hygiene
Regular cleaning is essential to maintaining the hygiene and longevity of your shower. Use a mild detergent or a vinegar solution to wipe down surfaces after each use. This practice helps prevent soap scum and mold build-up, ensuring your shower remains fresh and inviting. Pay special attention to grout and caulking, as these areas are prone to discoloration and mildew if neglected.
Ensure proper ventilation in your bathroom to minimize moisture retention, which can lead to mold growth. Consider utilizing an exhaust fan or opening windows during and after showers. Inspect your shower fixtures periodically for leaks and drips, addressing any issues promptly to avoid water damage. By staying vigilant and proactive, you can significantly extend the life of your shower and maintain a clean environment.
FAQS
What tools are essential for shower repair?
Essential tools for shower repair typically include a wrench, screwdriver, pliers, caulk gun, utility knife, and a level. These tools will help you tackle most common repair tasks effectively.
Can I install a shower myself, or should I hire a professional?
Installing a shower can be a DIY project if you have basic plumbing and carpentry skills. However, if you feel unsure or lack experience, hiring a professional is recommended to ensure proper installation and avoid complications.
What are the steps involved in installing a shower?
The shower installation process generally includes planning the layout, preparing the site, installing the shower base, connecting plumbing, securing fixtures, and finishing with waterproofing and sealing. A detailed step-by-step guide can help in executing each phase properly.
How can I maintain my shower for better longevity?
To maintain your shower effectively, regularly clean the surfaces, check for leaks, replace worn-out seals, and ensure proper ventilation to prevent mold growth. Following best practices will help extend the life of your shower.
What are some common issues that require shower repair?
Common issues that may require shower repair include leaks, clogged drains, damaged tiles, mold growth, and faulty fixtures. Addressing these problems promptly can prevent more extensive damage and costly repairs.